Lately, I’ve really been feeling like I need a project – something to feel like I am making progress and moving forward in some way. Staying home has been a time of settling in to the stillness, which I am all for. But right now, we’re also facing so much uncertainty. Having something to do that makes me feel productive is one small thing that I have control over right now, and I’ll take it!
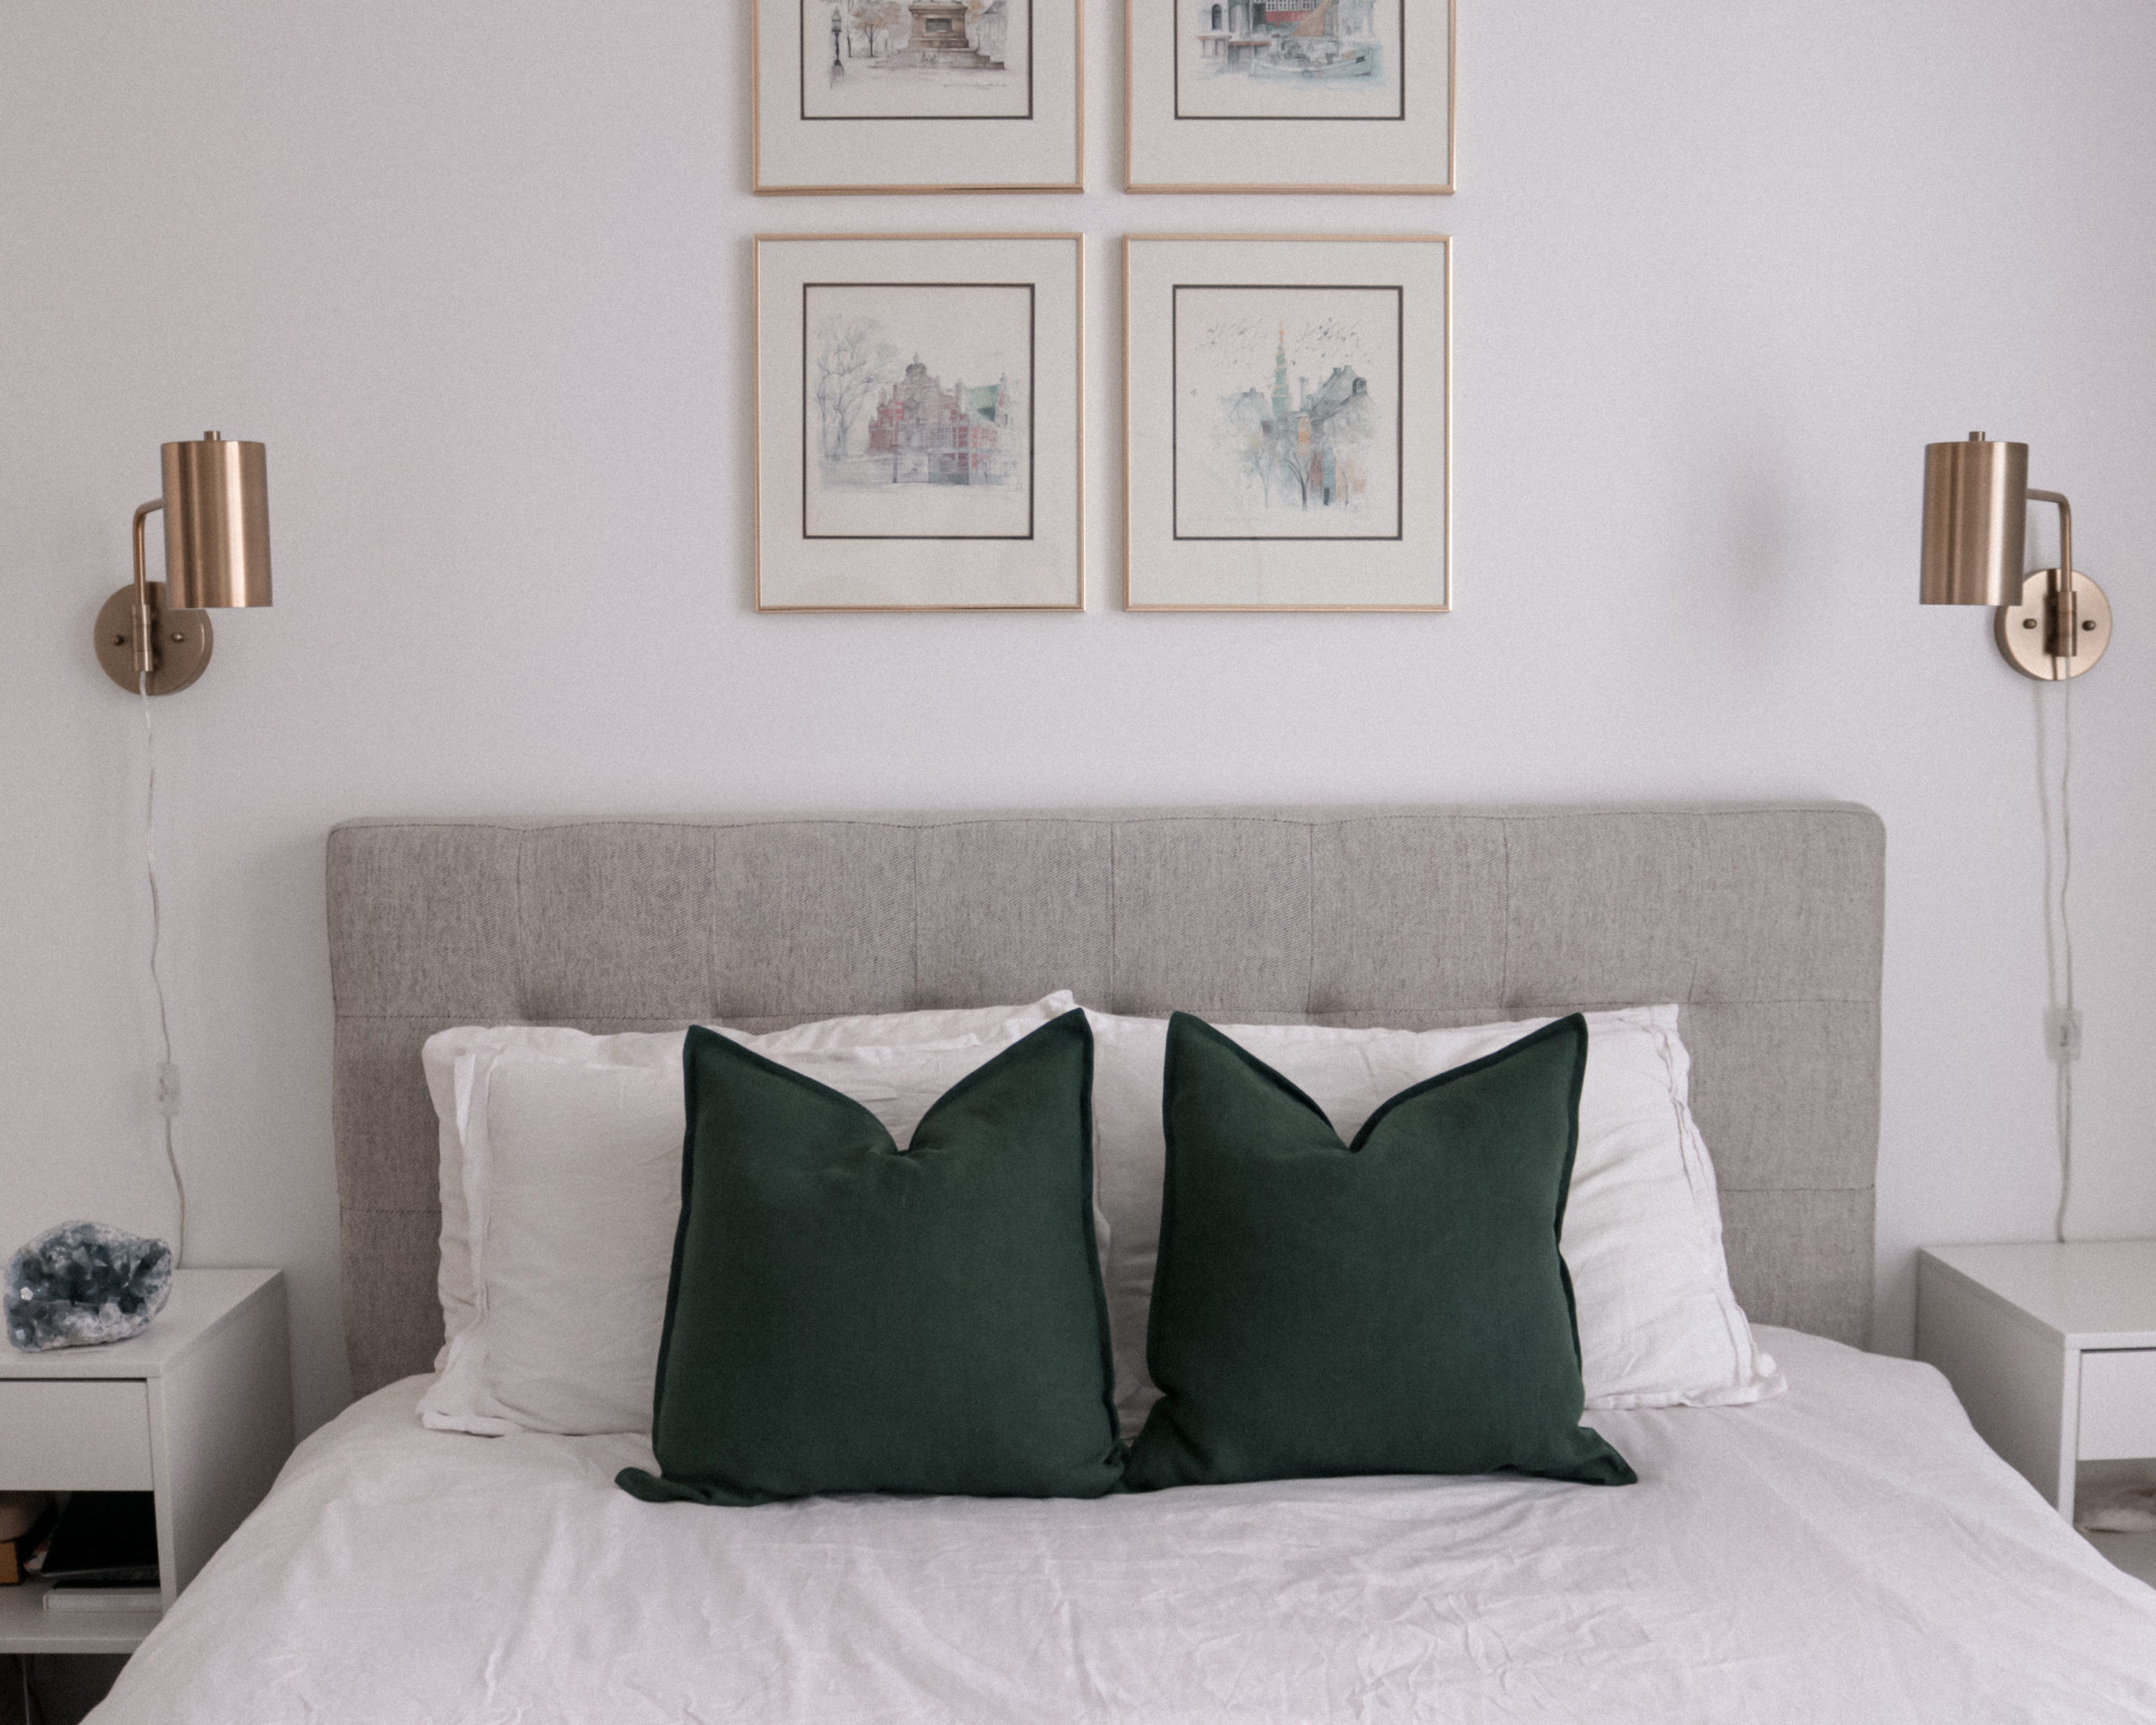
So with that in mind, I decided to do a little DIY project. We had some yellow pillows from Ikea on our couch that I decided to re-cover and use in the bedroom instead. It was actually such an easy DIY and I absolutely love how they turned out! So if you’re looking for a fun home project to do, or have some old throw pillows that could use an update, then this article is for you.
I’ll be listing out full step-by-step instructions here so that you can follow along at home. You can also watch the video tutorial below. Let’s get started!
Video Tutorial
Materials Needed
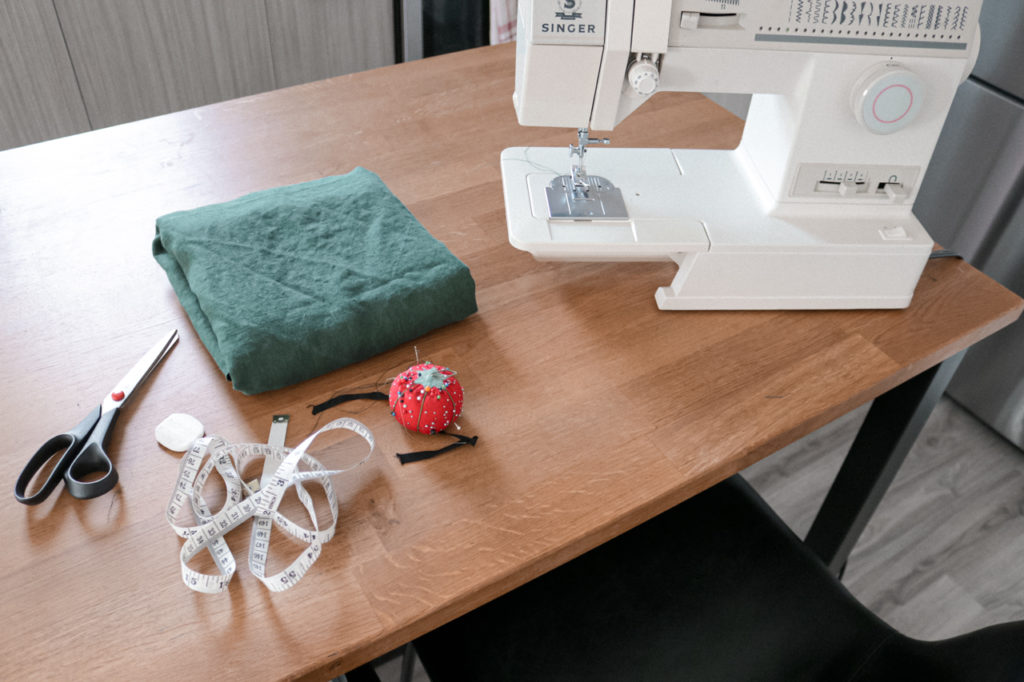
For this DIY, you’ll need:
- A sewing machine
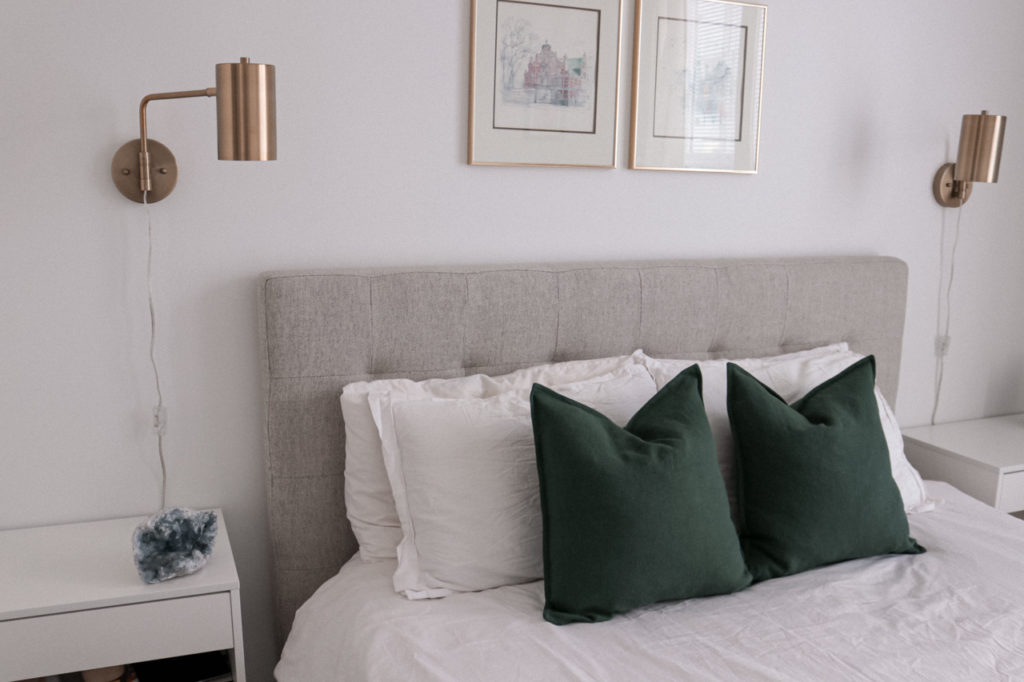
- Fabric of choice and matching thread (I am using this emerald linen fabric)
- Sewing supplies such as fabric scissors, pins, measuring tape, fabric chalk, and a straight ruler
- Zipper(s) the length of one edge of your pillow insert
Instructions
Before you start, wash and dry your fabric and give it a good press.
Making the Pattern
Take the measurements for your pillows. For my DIY, I used 20″ square pillow inserts from Ikea. I used the covers I already had on these to take the measurements for my pattern. The inside pocket of the pillow covers was actually slightly smaller than the pillow size at about 18 1/2″, so I used that for my base pattern. Then I added 7/8″ seam allowances to each of the four sides, with an extra 1/4″ for the one zippered edge. (All in all, my pieces measured 20 1/4″ by 20 1/2″).
I used larger seam allowances so that I can create a decorative edge which will also encase the raw edges. But, that’s optional and you could use a smaller seam allowance if you prefer. Just remember to add a little extra to the zipper edge, and finish the other edges with a zig zag stitch or serger before sewing.
Once you have your measurements, use fabric chalk and a straight ruler to mark out the pattern. You’ll need to cut two pieces for each pillow. Once you have one cut, you can use it as a template for the others. It’s also helpful to mark the zipper edge so you know which side it’s on and where to make the first stitches.
Step 1
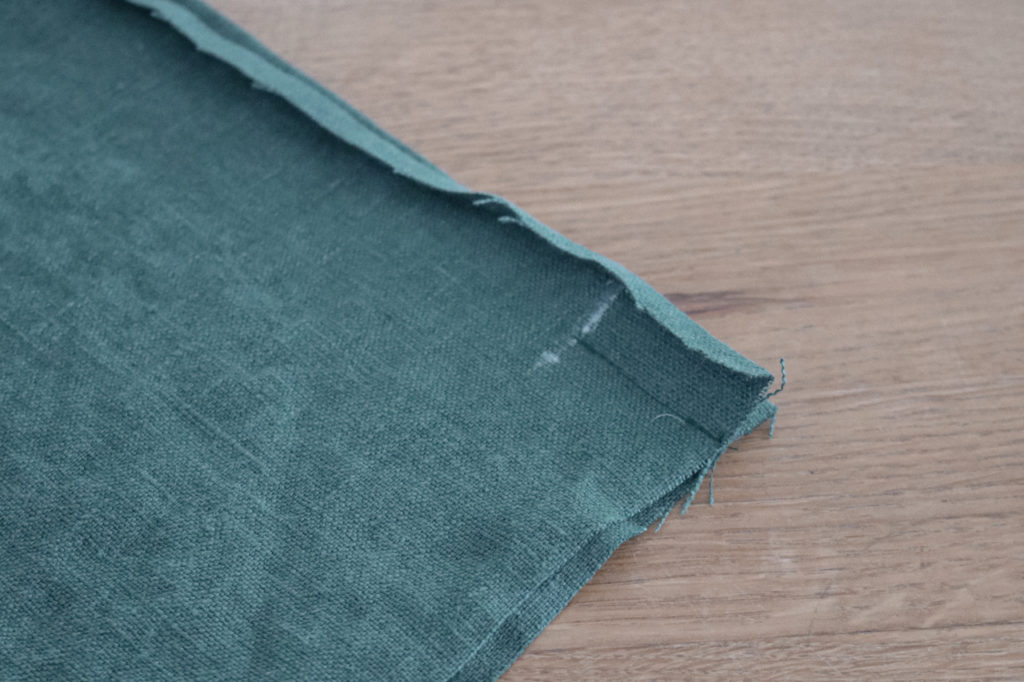
We’re going to start with the zipper. From the wrong side of the fabric, press up the edge where the zipper will be on both fabric pieces by 1/4″.
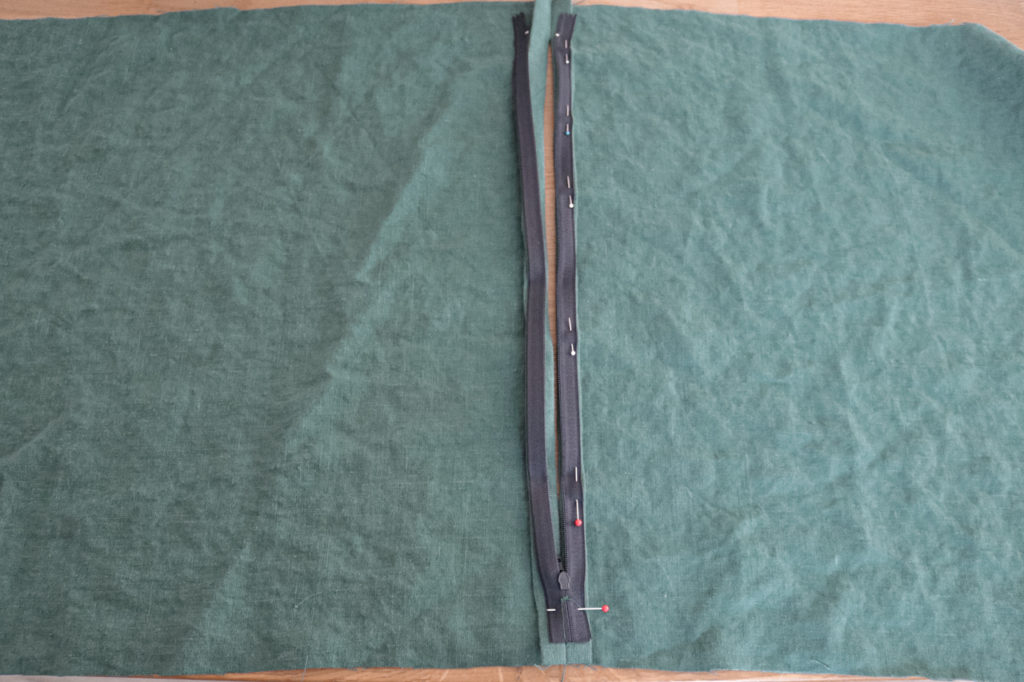
Step 2
Place the right sides of your fabric together and pin along the zipper edge (where you just pressed up.) Starting from each side, stitch in at a 5/8″ seam allowance from the folded edge, leaving a gap that is large enough for your pillow.
(As an example, my pillows are about 20″ square and I left a 17″ gap. This meant that I stitched in about 1.5″ from each side, but that will differ if you are using a different pillow size.)
Make sure that you backstitch well so the seam is sturdy. Press the seam open.

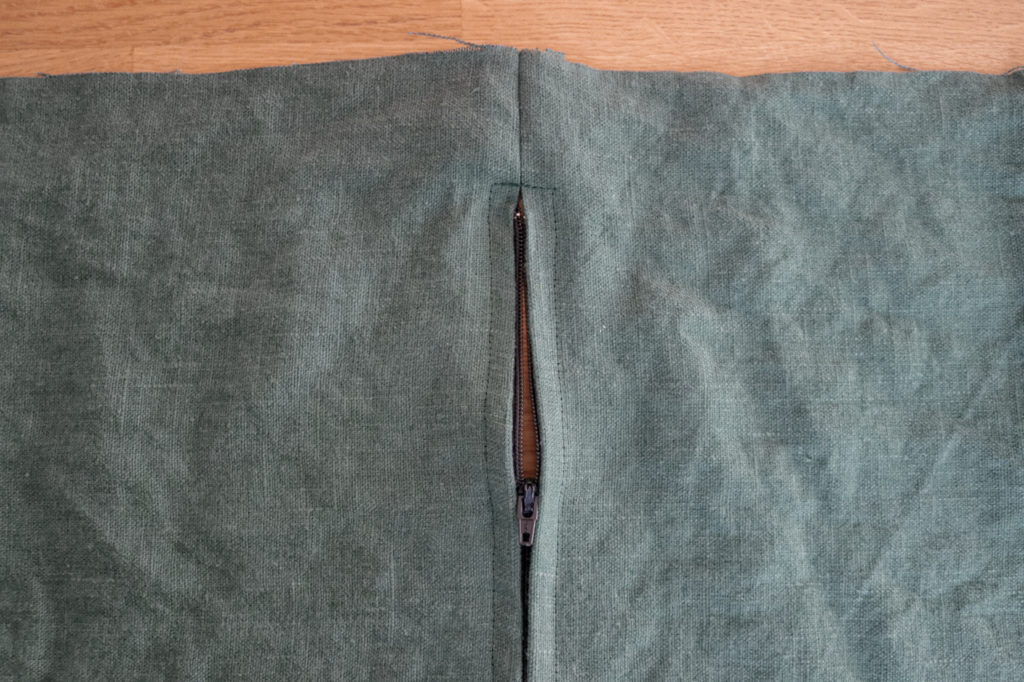
Step 3
Attach the zipper. This is a little tricky. You want to pin the zipper to the wrong side of the fabric along the open seam, so that the right side of the zipper is facing outwards. But, you want to pin it from the right side of the fabric so that you can topstitch, as that side will be showing on your pillow.

Once your zipper is pinned in place, topstitch at a 1/2″ seam allowance, making sure to catch the 1/4″ edge that you pressed under as you sew to seal in that raw hem. I started at the bottom of the zipper, stitched up to the top and across, then back down the other side to the bottom again.
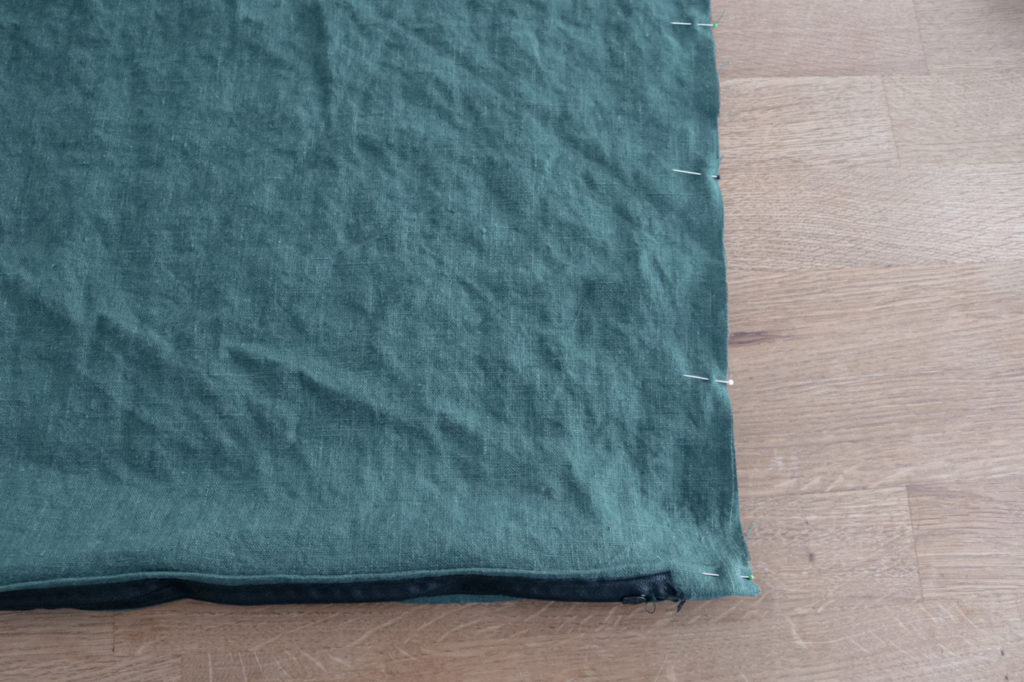
Step 4
Open your zipper. With right sides of the fabric together, stitch around the remaining three sides of your pillow cover at 3/8″ seam allowance.
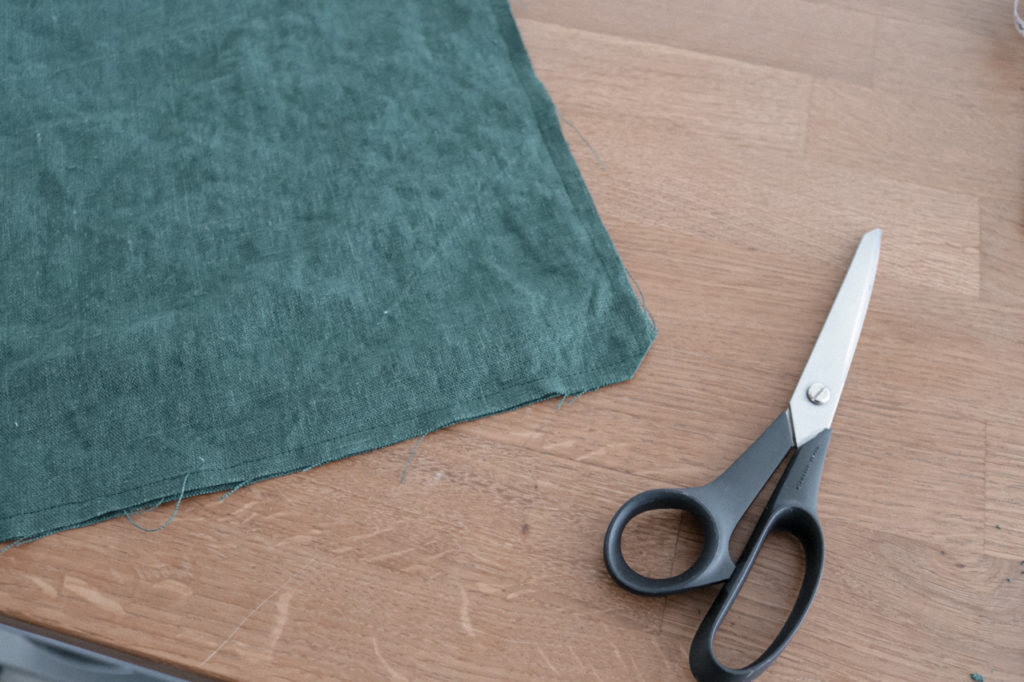
Step 5
Trim the corners and turn the pillow right side out. Use a chopstick to carefully poke out the corners so that they are square. Press the cover so that it is completely flat to the seams.
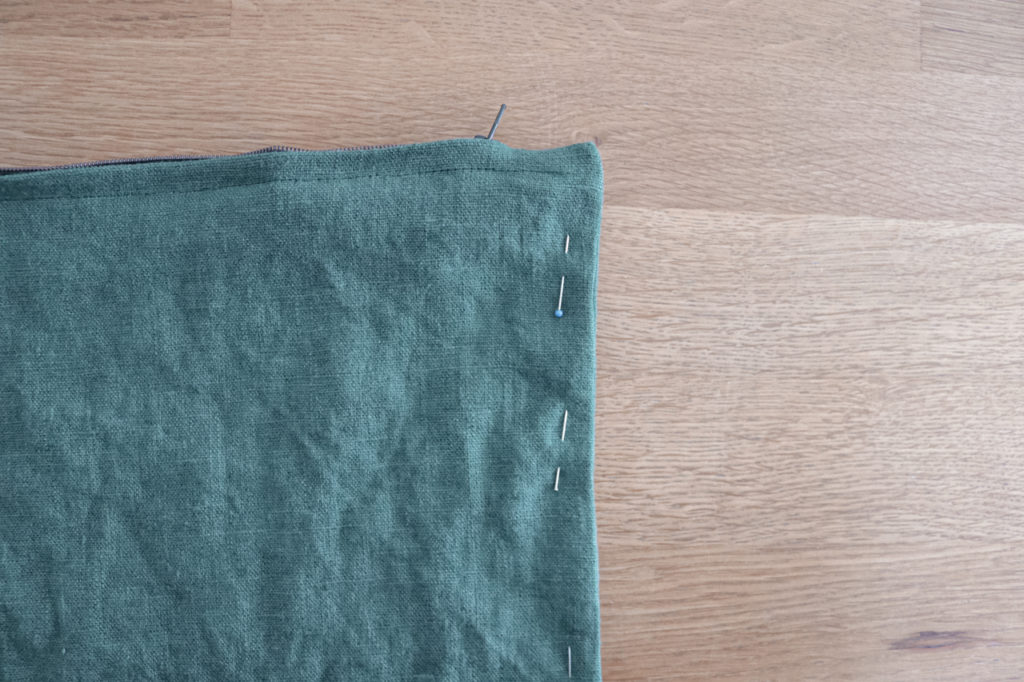
Step 6
Stitch around the edges of the pillow, right sides out, at a 1/2″ seam allowance, backstitching at both ends. This will encase your raw 3/8″ seams on the inside and also add a decorative edging to your pillow. Start and end your stitches where you left off when attaching your zipper, making sure they line up properly so you have a 1/2″ seam all the way around.
And that’s it, you’re done! I hope you enjoyed this tutorial and that it gives you some inspiration for your own projects at home. If you end up doing this DIY and feel like sharing, make sure to tag me on Instagram so I can see your creations! If you have any questions or get stuck anywhere, comment below or send me a DM and I will do my best to help out. Happy sewing!
Thanks for reading,

Pin for Later

I 100% agree: it is a time when little DIY projects are more than welcome to take the mind of all the uncertainty around us… and also giving us the sense of accomplishment, with some fun and beautiful results. Thanks for sharing this with us!
Thanks for the tutorial! It was easy to follow, and I ended up with some lovely new linen pillow cases.