Hi everyone! I’m so excited to be sharing my first video with you. I just figured it would be a lot easier to follow this tutorial in video format so you can really see how I did it.
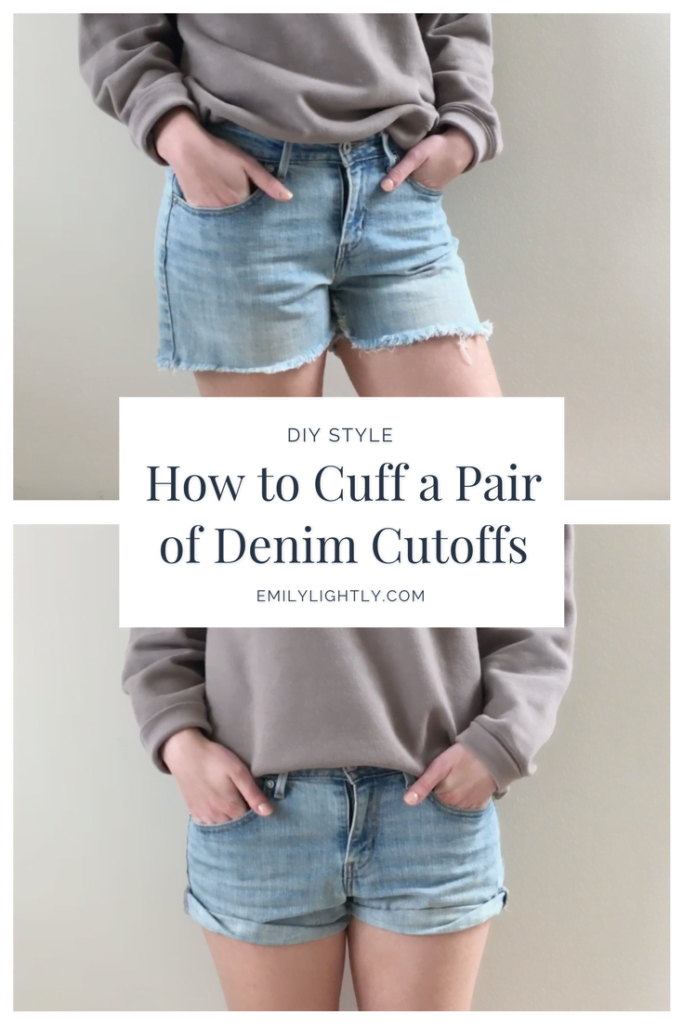
Today I’ll be showing you how to add a cuffed hem to a pair of denim cutoffs. I was inspired to create these by two pins I found on Pinterest (here and here). I picked up a pair of vintage Levi’s cutoffs for $2.99 from the thrift store, so this was a super budgetary DIY. Here are all the steps I took, or just watch the video if you want to follow along!
Materials
Here’s what you’ll need for this DIY:
- A pair of denim cutoffs (or old jeans that you can cut yourself)
- A sewing machine (you could theoretically hand sew this, but by machine is much easier)
- Thread
- Fabric scissors
- Pins
- A measuring tape
- An iron
Instructions
1. Start by measuring the hem on each side and rolling it up about 1.5 cm, pinning at the two side seams and the two crotch seams (four points in total).
2. Do a few small back and forth stitches at each seam where you’ve pinned to hold it in place.
3. Use your iron to press up the hem all the way around. You don’t need to be worried about being too perfect, as you want it to look sort of effortlessly rolled up.
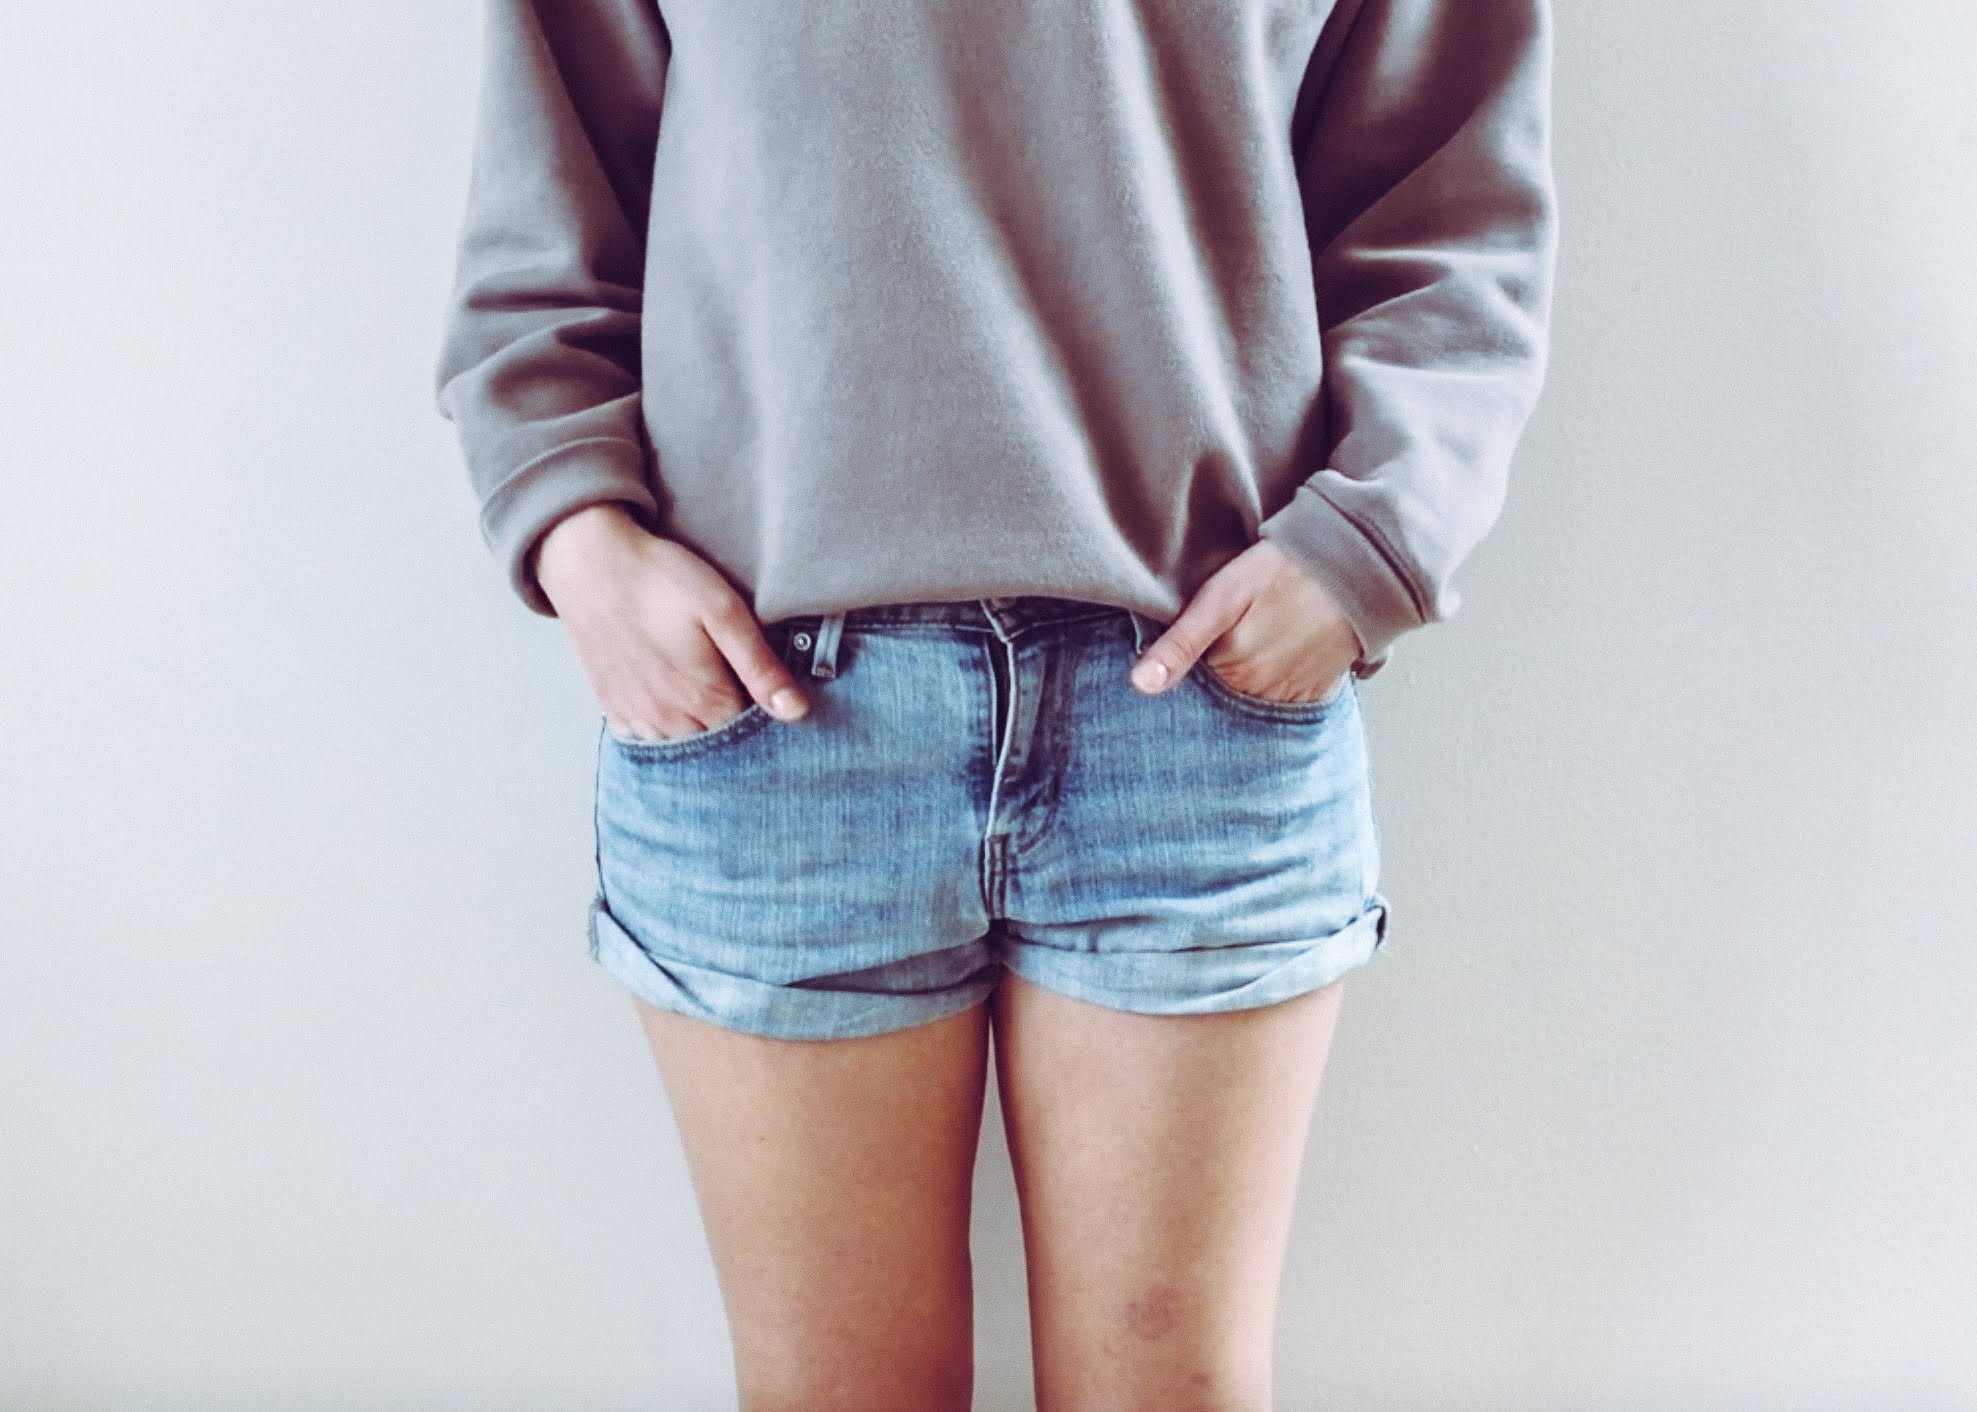
4. Now try on the shorts and roll up the hem another time. I suggest doing this in front of a mirror so you can adjust it and get it looking how you want it. It took me a long time of fiddling with it, but the trick I found to achieving the look I was going for was to roll up the inner seam just once, but roll up the outer seam two times. Once you have it looking how you want, pin the four points again (don’t stab yourself!)
5. At this point I found it helpful to give it another iron just to make sure I had them looking exactly how I wanted them. Take your time and keep trying them on to make sure you’ve got it before you go ahead and stitch.
6. The last step is to just stitch back and fourth again at those same four points where you’ve rolled up the hem, and then you’re done!
This was so easy to do and I love how the shorts turned out. I can’t wait to wear them in my summer capsule wardrobe! I hope you found this tutorial useful. Comment below if you gave it a try or tag me on Instagram with a picture of your completed shorts. Also, please let me know if you enjoyed the video format so I know to do more of that in the future!
Thanks for reading/watching,
Emily
Pin for later: