
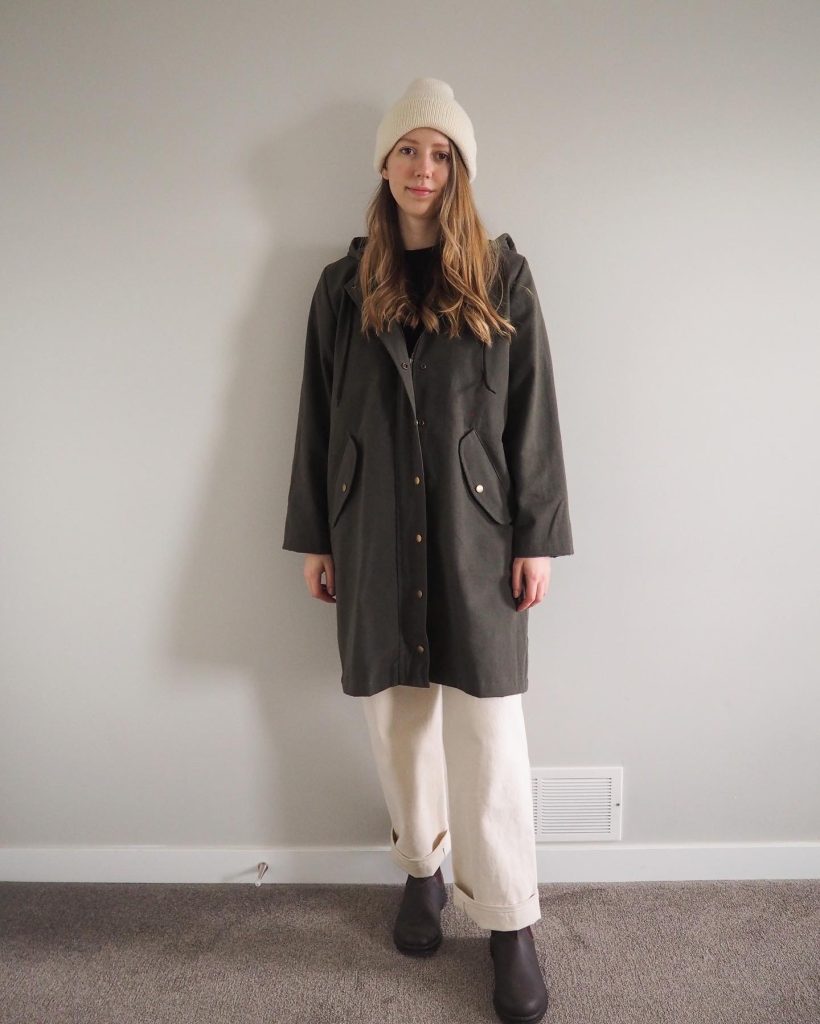
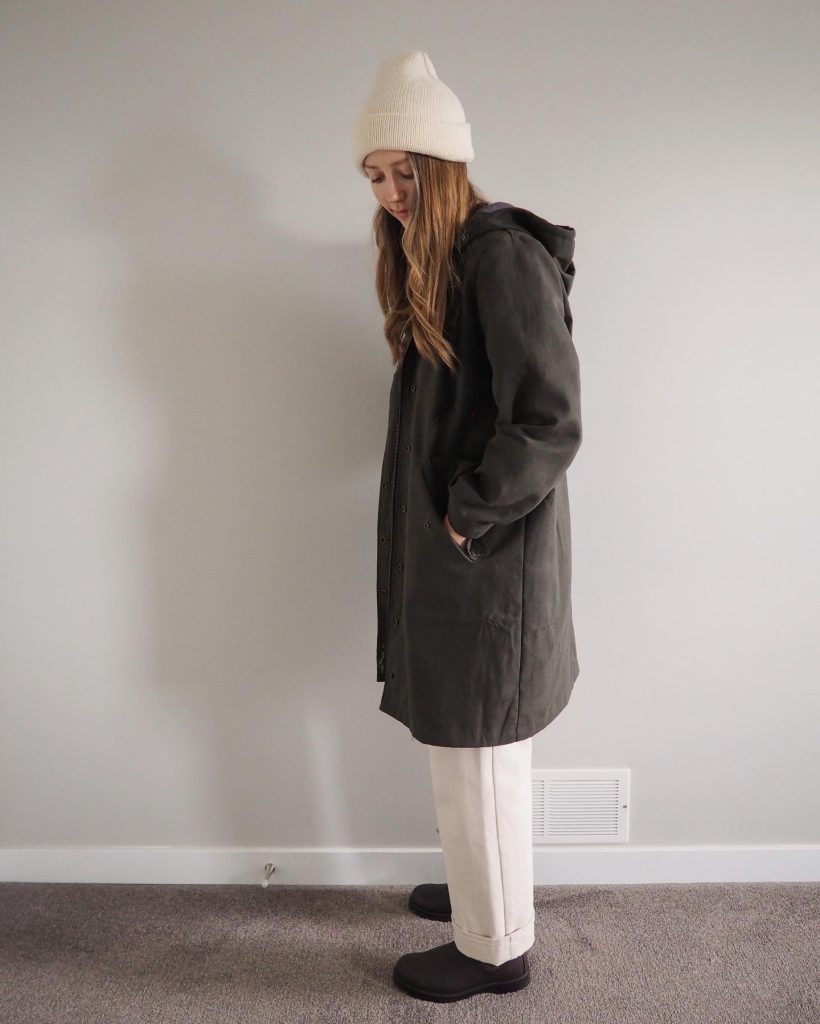
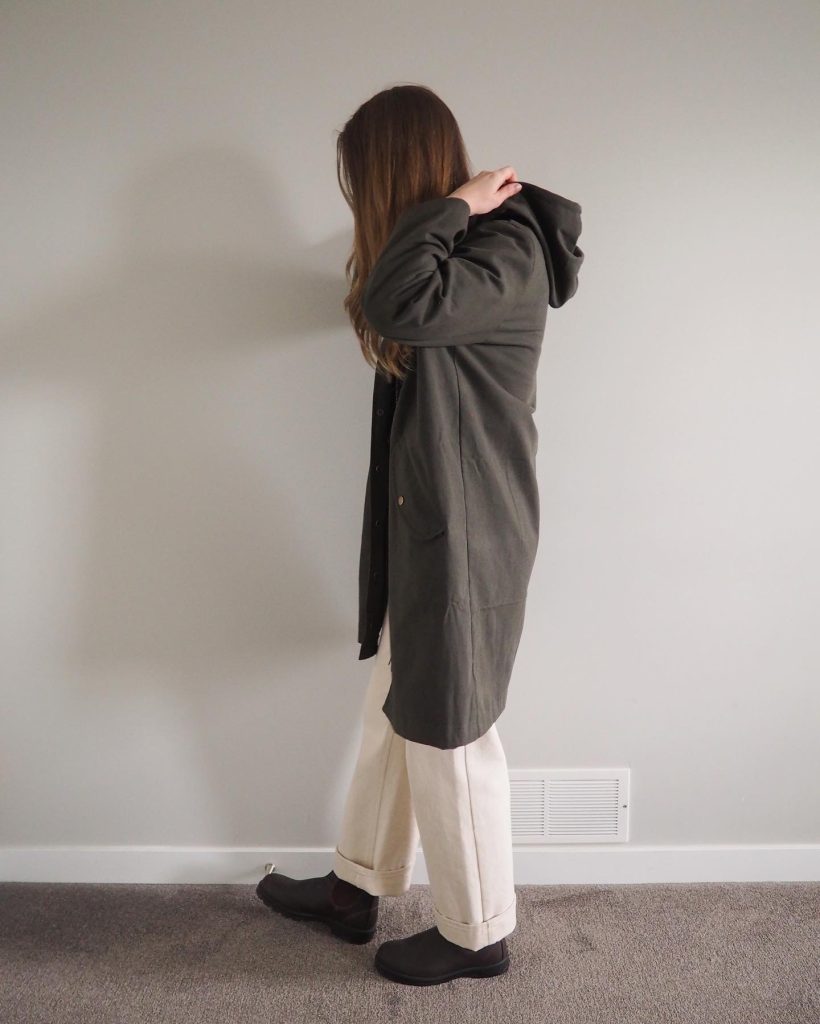
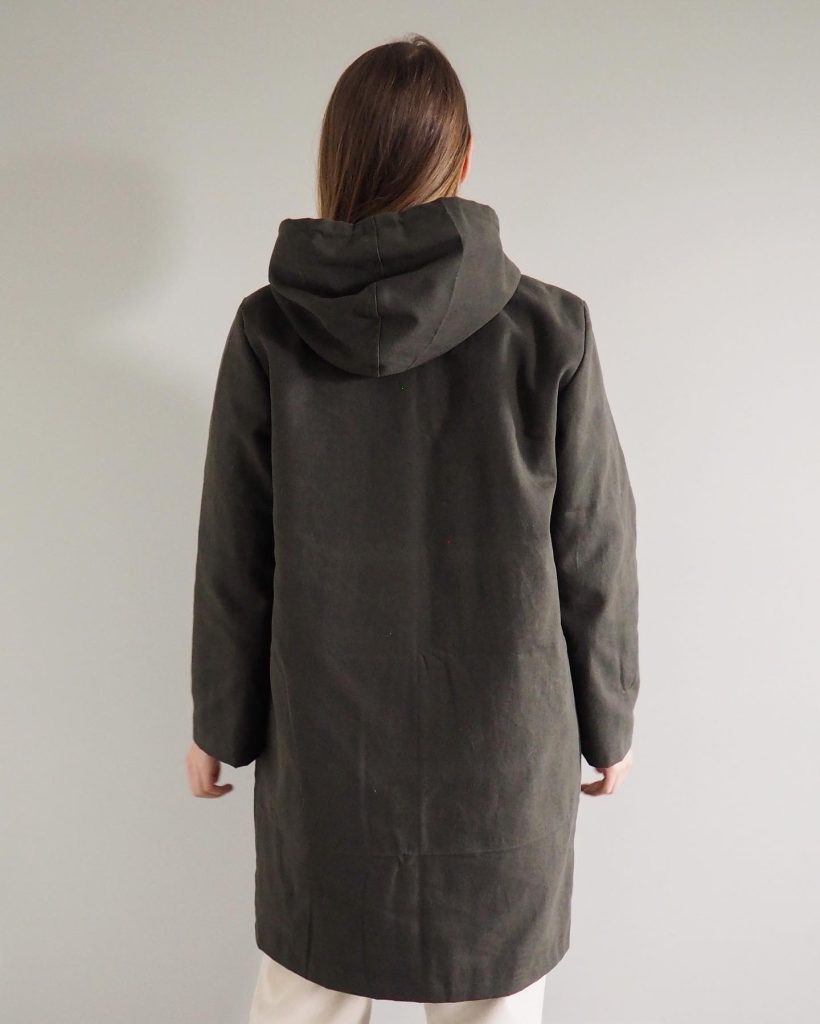
Well, it’s almost winter and we’ve had snow here already, but here I am making a rain coat. I suppose it’s technically still fall, and anyway this project had been on my to-make list for over two years, so better late than never! This is the I AM Jacques rain coat sewing pattern and in this post I’ll share all of the details of this make, including what fabrics I used and adjustments I made. There’s also a sewalong video review if you’d like to watch the process from start to finish!
Watch the video
The Basics
Pattern: Jacques Rain Coat by I AM Patterns
Size range: 34 – 52 (bust 30 3/4″ – 44 7/8″)
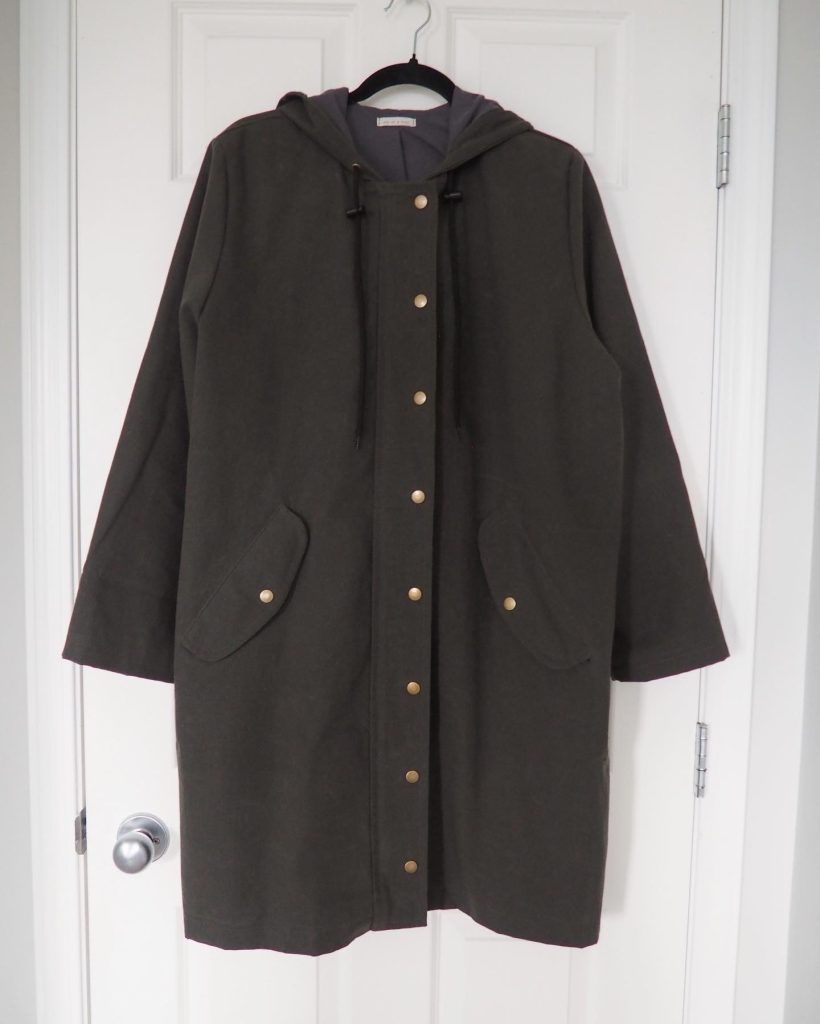
Main fabric: Merchant & Mills dry oilskin (purchased from Simplifi Fabric)
Lining fabric: Bio-washed cotton from TwoONine Fabric Studio
Notions from Sewing Supply Depot / Fabricland
Difficulty: Advanced
Approximate time to make: 5 days
The Details
This was my first time making a pattern from I AM Patterns, and I actually had a printed copy of it. There are three views of the jacket – short, medium, and long – and I decided to make the long version. The printed pattern came on one sheet with overlapping pieces that needed to be traced out. Also, for the longer or shorter versions, additional length needs to be added or subtracted to several pattern pieces, which is detailed in the instructions.
I was between sizes based on the size chart. My bust put me at a size 42, but my waist and hips were in line with the size 44. I went with the size 44 as I usually prefer my garments to fit more oversized, especially a jacket like this so I could layer sweaters underneath. The 44 fits really well and I’m glad I didn’t go for the smaller size.
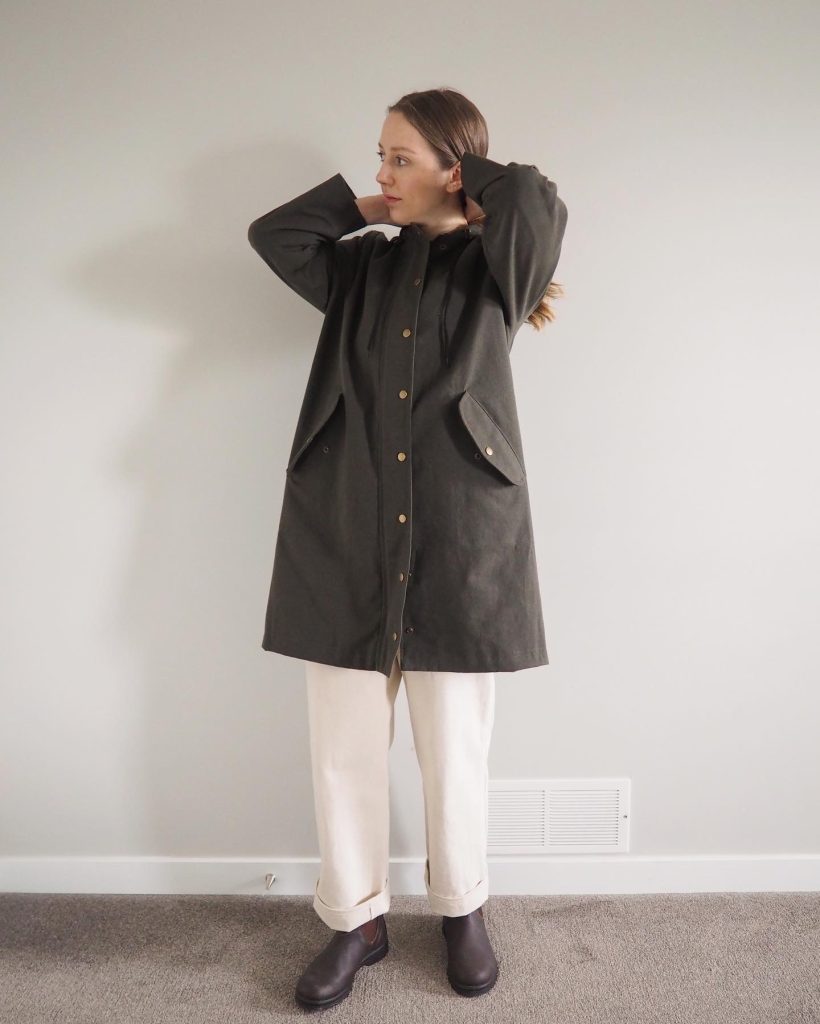

The only adjustment I made to the pattern was to do welt pockets with a flap instead of the patch pockets. I drafted my own pockets and flap for this with help from the welt pocket tutorial on the Shapes of Fabric blog. This was my first time ever doing a welt pocket and I think they turned out really nice! It was intimidating but after doing it a couple of times, it’s a relatively simple process.
The rest of the jacket was straightforward and while the instructions didn’t have illustrations for every single step, I was able to follow along. I did get pretty confused at the point where the lining was attached to the bottom of the jacket. Thankfully, some very kind and helpful people came to my rescue on Instagram and offered me some guidance that got me through it. A video that really helped me was the lined jacket corner tutorial by Diane Deziel (her tutorials are all just great in general.)
Final Thoughts
I love the finished result of the coat. It feels very sturdy and it’s also surprisingly warm for a rain coat. I can layer a wool sweater underneath and still have lots of freedom to move around. I wish I had done fewer snaps down the front because I feel like it looks a bit busy, but there’s no turning back now! This definitely feels like a high-quality pattern with a really good fit and style, so I’d definitely recommend it if you’ve been looking to make a rain coat. I also feel like I gained a lot of new skills making this, so I feel much more confident taking on tailored coats and jackets moving forward.
I hope you enjoyed this review and found it helpful! What’s on your to-make list this winter? Let me know in the comments below. You can also read more pattern review posts here!
Thanks for reading,

Hi.
I’m about to make this coat and love your welt pockets. I looked at the Shapes of Fabric blog on welt pockets and it’s very helpful, but there is no example/pattern for the angle welt pocket bag. Any chance you could add a template for the size of pockets you made? (or email me one?)…
Thanks!
Suzanne
P.S. The coat looks great! Not just the pockets!!
The question I have was near the end when you attached the front placket. You sewed the raw edge of the placket at the previous zipper front stitching line, then you said you turned the seam allowance and stitched, enclosing it? I never understood how it was “enclosed.” Did you fold it over twice, or just stitch the raw edge down, without enclosing the raw edge?